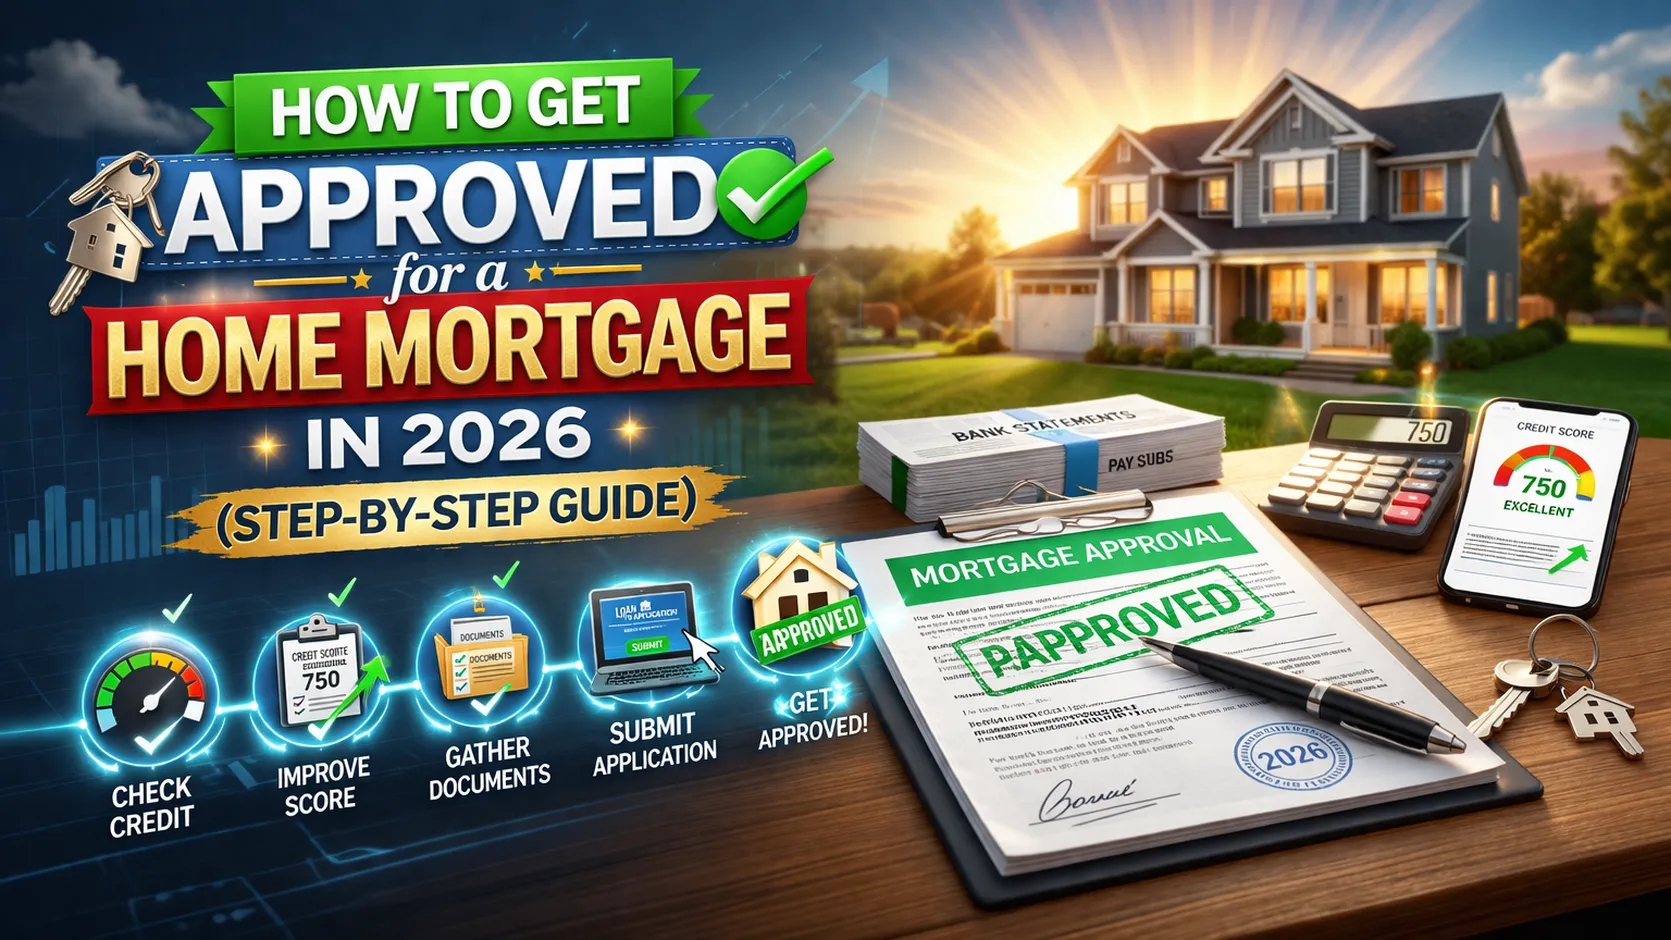
Introduction: Your Path to Mortgage Approval Starts Here
Getting approved for a home mortgage represents a major milestone on the journey to homeownership. For many Americans in 2026, this process can feel overwhelming, filled with unfamiliar terminology, documentation requirements, and financial scrutiny that goes deeper than any loan you have likely encountered before.
The good news is that mortgage approval is not a mystery. Lenders follow clear, predictable criteria when evaluating applications. Understanding what lenders look for and preparing accordingly dramatically increases your chances of approval while potentially securing better terms.
Current data shows that mortgage approval rates vary significantly based on borrower preparation and credit profile. Well-prepared applicants with strong financial foundations enjoy approval rates exceeding 80 percent, while those who apply without proper preparation face rejection rates as high as 30 to 40 percent.
This comprehensive guide walks you through every step of getting approved for a home mortgage in 2026. From checking your credit months before applying to navigating the underwriting process, you will learn exactly what to do, when to do it, and how to position yourself as an attractive borrower that lenders compete to serve.
Understanding the Mortgage Approval Landscape in 2026
The mortgage lending environment continues to evolve with economic conditions, regulatory changes, and technological advances. In 2026, several factors shape the approval process differently than in previous years.
Interest rates have stabilized compared to the volatility of 2022 and 2023, though they remain elevated compared to the historically low rates of the previous decade. This environment makes lender qualification standards particularly important, as approval criteria can tighten when rates rise.
Technology has streamlined many aspects of the application process. Digital documentation, automated underwriting systems, and faster verification methods mean approvals can happen more quickly than ever before. However, this technology also enables more thorough scrutiny of your financial profile.
Understanding these dynamics helps you navigate the current lending landscape with realistic expectations and proper preparation.
Step 1: Check and Improve Your Credit Score
Your credit score serves as the foundation of mortgage approval. This three-digit number summarizes your creditworthiness and directly influences whether you get approved, what interest rate you receive, and how much you can borrow.
Understanding Credit Score Requirements
Different loan programs have varying minimum credit score requirements. Conventional loans typically require a minimum score of 620, though most lenders prefer 640 or higher for competitive rates. FHA loans accept scores as low as 580 with a 3.5 percent down payment, or 500 with 10 percent down.
However, meeting the minimum does not guarantee approval or favorable terms. Borrowers with scores above 740 receive the best rates and most favorable terms, while those between 620 and 679 may face higher rates and additional scrutiny.
In 2026, the median credit score for approved conventional mortgage applicants hovers around 755, indicating that competitive borrowers typically exceed minimum requirements by substantial margins.
How to Access Your Credit Reports
Before applying for a mortgage, obtain copies of your credit reports from all three major bureaus: Equifax, Experian, and TransUnion. You are entitled to free reports from each bureau annually through AnnualCreditReport.com.
Mortgage lenders typically pull reports from all three bureaus and use the middle score for qualification purposes. If applying jointly with a spouse or partner, lenders use the lower middle score between the two applicants.
Review each report carefully for errors, which appear on roughly 20 percent of credit reports according to Federal Trade Commission research. Disputes can take 30 days or more to resolve, so start this process early.
Strategies to Boost Your Credit Score
If your score needs improvement, implement these proven strategies several months before applying:
Pay down credit card balances to below 30 percent of credit limits. Credit utilization accounts for 30 percent of your score, making this one of the fastest ways to see improvement.
Make all payments on time without exception. Payment history represents 35 percent of your score, and even one late payment can drop your score by 50 to 100 points.
Avoid applying for new credit in the months before your mortgage application. Each hard inquiry can temporarily reduce your score by a few points, and new accounts lower your average account age.
Keep older credit accounts open even if you do not use them regularly. Length of credit history contributes 15 percent of your score.
Dispute any inaccuracies immediately. Errors like incorrect late payments or accounts that do not belong to you can significantly damage your score.
Consider becoming an authorized user on someone else’s established account. If they have excellent payment history, it may help your score, though recent scoring models limit this impact.
These improvements take time to reflect on your credit reports. Start this process at least three to six months before you plan to apply for mortgage approval.
Step 2: Calculate Your Debt-to-Income Ratio
Lenders evaluate your ability to repay the mortgage by examining your debt-to-income ratio, commonly called DTI. This calculation compares your monthly debt obligations to your gross monthly income.
Understanding Front-End and Back-End Ratios
Lenders calculate two types of DTI ratios. The front-end ratio divides your proposed housing payment—including principal, interest, taxes, insurance, and HOA fees—by your gross monthly income.
The back-end ratio includes your housing payment plus all other monthly debt obligations such as car loans, student loans, credit cards, and personal loans, divided by gross monthly income.
Most conventional lenders prefer a back-end DTI below 43 percent, though some programs allow up to 50 percent with compensating factors like high credit scores or substantial reserves.
How to Calculate Your DTI
To calculate your DTI, total all monthly debt payments including:
- Proposed mortgage payment with taxes and insurance
- Car loans or leases
- Student loans
- Credit card minimum payments
- Personal loans
- Alimony or child support payments
Divide this total by your gross monthly income before taxes and deductions. For example, if your monthly debts total $3,200 and your gross monthly income is $8,000, your DTI is 40 percent.
Improving Your DTI Before Applying
If your DTI exceeds preferred thresholds, consider these strategies:
Pay off smaller debts completely. Eliminating a $200 monthly car payment improves your DTI and increases borrowing power.
Avoid taking on new debt. Do not finance furniture, cars, or other purchases in the months before applying for a mortgage.
Increase your income through raises, bonuses, or side work. Lenders typically require two years of history for self-employment or variable income.
Consider a less expensive home. While disappointing, buying within comfortable DTI parameters protects your long-term financial stability.
Add a co-borrower. If applying with a spouse or partner, their income improves your combined DTI.
Step 3: Save for Your Down Payment and Closing Costs
The amount of cash you can bring to the transaction significantly impacts your approval odds and loan terms. While low-down-payment programs exist, larger down payments strengthen your application and save money over time.
Down Payment Requirements by Loan Type
Conventional loans require as little as 3 percent down for first-time buyers, though 5 to 20 percent is more common. FHA loans accept 3.5 percent down with qualifying credit scores. VA loans and USDA loans offer zero-down options for qualifying borrowers.
Despite these minimums, putting down at least 20 percent eliminates private mortgage insurance requirements and demonstrates financial stability that lenders value.
Down Payment Assistance Programs
Numerous federal, state, and local programs help buyers with down payments and closing costs. These include grants, forgivable loans, and deferred-payment second mortgages.
Research programs in your area through your state housing finance agency or local housing authority. Many target first-time buyers, though some serve repeat buyers in specific areas or professions like teachers and first responders.
Acceptable Down Payment Sources
Lenders scrutinize where your down payment comes from to ensure it represents your genuine financial stake. Acceptable sources include:
- Personal savings accumulated over time
- Gift funds from family members with proper documentation
- Sale proceeds from another property
- Retirement account funds, though penalties may apply
- Down payment assistance programs
- Employer assistance programs
Lenders require documentation showing the source and history of all funds. Recent large deposits require explanation and verification to prevent undisclosed loan proceeds from being used.
Budgeting for Closing Costs
Beyond your down payment, you need cash for closing costs, which typically total 2 to 5 percent of the loan amount. On a $400,000 loan, expect $8,000 to $20,000 in closing costs.
Some buyers negotiate for sellers to contribute toward closing costs, though this may weaken your offer in competitive markets. Others explore lender credits, where accepting a slightly higher interest rate reduces upfront costs.
Step 4: Gather Required Documentation
Mortgage approval requires extensive documentation proving your identity, income, assets, employment, and financial history. Organizing these documents before applying accelerates the process and demonstrates preparedness.
Essential Documents for All Borrowers
Prepare the following items regardless of your employment type:
Government-issued photo identification such as a driver’s license or passport.
Social Security card or verification of your Social Security number.
Two months of bank statements for all accounts, including checking, savings, and investment accounts.
Two years of federal tax returns with all schedules if you are self-employed or claim rental income.
Recent pay stubs covering the most recent 30 days.
Two years of W-2 forms from all employers.
Documentation of any other income sources such as Social Security, disability, pensions, or alimony.
Additional Documentation for Self-Employed Borrowers
Self-employed individuals face additional scrutiny and documentation requirements. Lenders typically require:
Two years of personal tax returns with all schedules.
Two years of business tax returns if you own 25 percent or more of a business.
Year-to-date profit and loss statement.
Balance sheet showing business assets and liabilities.
CPA letter or business license proving existence and nature of your business.
Lenders average your income over two years and may make adjustments for depreciation, depletion, one-time expenses, or unreimbursed business expenses.
Documentation for Non-Traditional Income
If you receive income from sources beyond traditional employment, provide supporting documentation:
Rental income requires lease agreements and two years of tax returns showing rental property income and expenses.
Investment income requires statements showing dividends, interest, or capital gains with evidence of continuity.
Alimony or child support requires divorce decrees or separation agreements plus proof of receipt for the past several months.
Social Security or disability income requires award letters and proof of ongoing receipt.
Step 5: Get Pre-Approved by a Lender
Pre-approval represents a critical step that separates serious buyers from casual shoppers. Unlike pre-qualification, which involves a basic review of self-reported information, pre-approval requires documentation review and credit verification.
Pre-Qualification vs. Pre-Approval
Pre-qualification provides a rough estimate of how much you might borrow based on information you provide without verification. It involves no credit check and carries no commitment from the lender.
Pre-approval involves submitting documentation, authorizing a credit check, and receiving a conditional commitment from a lender for a specific loan amount. This demonstrates to sellers that you are a qualified buyer capable of completing the transaction.
In competitive markets, many sellers will not seriously consider offers without pre-approval letters. Some listing agents explicitly require pre-approval before showing properties.
Choosing the Right Lender
Compare lenders based on interest rates, fees, loan programs offered, responsiveness, and reputation. Consider a mix of traditional banks, credit unions, online lenders, and mortgage brokers.
Request Loan Estimates from at least three lenders to compare costs and terms. Pay attention not just to interest rates but also to origination fees, points, and closing costs.
Ask real estate agents, friends, and family for recommendations. Reading online reviews provides additional perspective, though recognize that dissatisfied customers disproportionately leave reviews.
The Pre-Approval Process
Once you choose a lender, complete a mortgage application providing detailed information about your finances, employment, assets, and the type of property you intend to purchase.
The lender will pull your credit, review your documentation, and verify employment and income. This process typically takes a few days to a week depending on lender workload and your responsiveness.
Upon approval, you will receive a pre-approval letter stating the maximum loan amount for which you qualify. This letter is typically valid for 60 to 90 days, though you can request updates if your home search extends longer.
Step 6: Find a Property and Make an Offer
With pre-approval in hand, you can confidently search for homes within your budget. Working with an experienced real estate agent helps you identify suitable properties and navigate the offer process.
Staying Within Your Approved Amount
Just because you are approved for a certain amount does not mean you should borrow the maximum. Consider your comfort level with the monthly payment and leave room in your budget for maintenance, repairs, and unexpected expenses.
Many financial advisors recommend spending no more than 28 percent of gross income on housing costs, even if lenders approve you for higher DTI ratios.
Making a Strong Offer
Your pre-approval letter strengthens your offer by demonstrating financial readiness. In competitive situations, consider additional strategies like larger earnest money deposits, flexible closing timelines, or limited contingencies.
However, never waive the financing contingency, which protects you if final approval falls through despite pre-approval. Pre-approval is conditional, and circumstances can change during the transaction.
Step 7: Navigate the Underwriting Process
Once your offer is accepted, the transaction enters the underwriting phase. This is when the lender conducts a detailed review of your finances and the property to make a final approval decision.
What Underwriters Evaluate
Underwriters verify every aspect of your financial profile including income stability, employment continuity, asset sufficiency, and creditworthiness. They also review the property appraisal to ensure the home value supports the loan amount.
Common underwriting requests include:
- Explanation letters for credit inquiries, large deposits, or employment gaps
- Additional bank statements or documentation
- Verification of employment, often done days before closing
- Updated pay stubs if closing is delayed
- Proof of homeowners insurance
Avoiding Underwriting Problems
During underwriting, maintain financial stability and avoid actions that could jeopardize approval:
Do not change jobs or employment status without discussing it with your lender first.
Do not make large purchases on credit such as furniture, cars, or appliances.
Do not move money between accounts without documenting the transfers.
Do not apply for new credit cards or loans.
Do not make large cash deposits without clear documentation of the source.
Continue making all debt payments on time without exception.
These seemingly innocent actions can trigger underwriting conditions or even denial if they materially change your financial profile.
Conditional Approval and Clear to Close
Most approvals are initially conditional, meaning you must satisfy specific requirements before final approval. Common conditions include providing additional documentation, paying down specific debts, or explaining financial events.
Once all conditions are satisfied, you receive “clear to close” status, meaning underwriting is complete and you are approved to proceed to closing.
Step 8: Complete the Appraisal and Home Inspection
The lender orders an appraisal to verify the property’s value supports the loan amount. This protects both you and the lender from overpaying for the property.
The Appraisal Process
A licensed appraiser inspects the property and analyzes recent comparable sales to determine market value. If the appraisal comes in at or above the purchase price, the transaction proceeds normally.
If the appraisal comes in low, you have several options: negotiate with the seller to lower the price, increase your down payment to cover the gap, or walk away using your financing contingency.
Home Inspection Considerations
While not required by lenders, a professional home inspection protects your interests by identifying property defects or needed repairs. If significant issues are discovered, you may negotiate repairs, request credits, or reconsider the purchase.
Some buyers waive inspections in competitive markets, but this carries substantial risk. At minimum, consider a pre-offer inspection if planning to waive contingencies.
Step 9: Final Walkthrough and Closing Preparation
As closing approaches, schedule a final walkthrough to verify the property’s condition and ensure any agreed-upon repairs were completed satisfactorily.
Review your Closing Disclosure, which you receive at least three business days before closing. This document details your final loan terms, monthly payment, and closing costs.
Compare the Closing Disclosure to your original Loan Estimate. While some variation is normal, significant unexpected increases may indicate problems requiring investigation.
Arrange for homeowners insurance and provide proof to your lender. Coverage must be in place by closing.
Prepare funds for closing, typically wired from your bank account or provided via cashier’s check. Personal checks are rarely accepted for amounts exceeding a few hundred dollars.
Step 10: Attend Closing and Receive Your Keys
Closing, also called settlement, is when you sign final paperwork, pay closing costs and down payment, and officially become a homeowner.
What Happens at Closing
You will sign numerous documents including the promissory note, mortgage or deed of trust, closing disclosure, and various disclosures required by state and federal law.
Review documents carefully and ask questions about anything unclear. While the volume of paperwork is intimidating, do not sign anything you do not understand.
After signing, ownership transfers to you and you receive the keys to your new home.
Common Reasons for Mortgage Denial and How to Avoid Them
Understanding why applications get denied helps you avoid these pitfalls:
Insufficient credit score or negative credit history. Check and improve credit well before applying.
High debt-to-income ratio. Pay down debts or consider a less expensive property.
Inadequate income or employment instability. Demonstrate at least two years of stable income.
Insufficient funds for down payment and closing costs. Save diligently and explore assistance programs.
Property appraisal issues. Research comparable sales before making offers.
Last-minute financial changes. Maintain stability throughout the approval process.
Incomplete or inaccurate documentation. Provide thorough, honest information from the start.
Pros and Cons of Different Loan Programs
Conventional Loans
Pros:
- No upfront mortgage insurance premium
- PMI cancels at 20 percent equity
- Competitive rates for qualified borrowers
- Available for various property types
Cons:
- Higher credit score requirements
- Larger down payments for best terms
- Stricter qualification standards
FHA Loans
Pros:
- Lower credit score requirements
- Lower down payment requirements
- More flexible qualification standards
- Assumable by future buyers
Cons:
- Upfront and ongoing mortgage insurance
- Loan limits restrict availability in high-cost areas
- MIP remains for life of loan in many cases
VA Loans
Pros:
- No down payment required
- No mortgage insurance
- Competitive interest rates
- Limited closing costs
Cons:
- Only available to qualifying veterans and service members
- Funding fee applies unless exempt
- Property must meet VA standards
USDA Loans
Pros:
- No down payment required
- Competitive rates
- Lower mortgage insurance costs than FHA
Cons:
- Geographic restrictions to rural areas
- Income limits apply
- Longer processing times
Expert Tips for Approval Success
Start preparing six months to a year before applying. This allows time to improve credit, save money, and address any issues.
Be completely honest on your application. Misrepresentations can result in denial or even fraud charges.
Respond quickly to lender requests. Delays in providing documentation slow the process and may jeopardize time-sensitive transactions.
Maintain detailed records. Keep copies of all documents submitted and communications with your lender.
Work with experienced professionals. Quality real estate agents and loan officers guide you through complexity and advocate for your interests.
Understand that pre-approval is not final approval. Maintain financial stability throughout the transaction.
Do not let rejection discourage you. If denied, ask why, address the issues, and reapply when ready.
Frequently Asked Questions
How long does mortgage approval take in 2026?
With complete documentation, initial pre-approval typically takes three to seven days. Full underwriting after an accepted offer usually takes 30 to 45 days, though expedited options exist.
Can I get approved with bad credit?
Approval with low credit is possible through FHA loans, which accept scores as low as 500. However, expect higher rates and stricter requirements. Improving credit before applying saves substantial money.
How much income do I need to qualify for a mortgage?
Required income depends on the loan amount, your debts, and DTI requirements. As a rough guideline, your gross monthly income should be at least three to four times your proposed monthly housing payment.
What credit score is needed for the best mortgage rates?
Scores above 740 typically qualify for the best available rates. Scores between 700 and 739 receive competitive rates, while those below 680 may face rate increases.
Can I get approved if I just started a new job?
Possible, but challenging. Lenders prefer two years of employment history in the same field. Job changes within the same industry with increased income are viewed more favorably than career changes.
Do I need tax returns if I’m a W-2 employee?
Many lenders can verify W-2 income without tax returns using pay stubs, W-2s, and employment verification. However, if you claim deductions, have rental income, or are self-employed, tax returns are required.
How much money should I have saved beyond the down payment?
Lenders prefer to see reserves equal to two to six months of housing payments remaining after closing. More reserves strengthen your application and provide a safety net.
Conclusion: Your Approval Journey Begins with Preparation
Getting approved for a home mortgage in 2026 requires preparation, documentation, and financial discipline. While the process involves multiple steps and detailed scrutiny, understanding what lenders evaluate and positioning yourself accordingly transforms approval from uncertain to achievable.
Start by assessing your credit, calculating your debt-to-income ratio, and determining how much you can comfortably afford. Build your savings for down payment and closing costs while gathering necessary documentation.
Choose your lender carefully, comparing not just rates but service quality and responsiveness. Work with professionals who communicate clearly and prioritize your interests.
Throughout the process, maintain financial stability and avoid changes that could jeopardize approval. Respond promptly to lender requests and keep detailed records of all communications and documents.
Remember that mortgage approval is not just about qualifying for a loan—it is about entering homeownership from a position of financial strength that supports long-term success and stability.
If you encounter challenges or feel uncertain about any aspect of the approval process, consult with licensed mortgage professionals and financial advisors who can provide guidance based on your specific circumstances.
The path to homeownership begins with a single step. By following this guide and committing to thorough preparation, you position yourself for approval success and move closer to achieving your homeownership goals.
Written by Wellesley Realtor Editorial Team
U.S. Real Estate Research & Market Insights